Storing and retrieving external data to target users
Kameleoon Web and Feature Experimentation solutions allow you to targeting users based on external data stored on other systems (such as CRMs and CDPs), using the Data API’s Map endpoint and custom data.
This tutorial discusses:
- Storing external user data using the POST Map endpoint.
- Reading user data using the GET Map endpoint. (Note: This step uses an activation API method for Web Experimentation that wraps the Data API. For Feature Experimentation, a similar method is available across Kameleoon SDKs, simplifying the process by avoiding manual API call logic).
- Leveraging stored data in a targeting segment by utilizing custom data with experiments.
Post data using the DATA API’s MAP endpoint
Since the Data API is a REST API, a POST request to the MAP endpoint stores additional information linked to a specific key—usually representing a visitor code or an internal user ID provided when a user visits the website.
You may obtain an authentication token to access the MAP endpoint following the same flow as the Automation API with JSON web tokens (optional). To learn more about authentication and rate limiting, see this article.
The cURL request must include the following parameters:
siteCode: A string of letters and numbers identifying the experiment project. See this article to learn how to retrieve it.- JSON object: The request body contains an object consisting of a list of keys and relevant user data.
User-Agent: Requests identified as bots or spiders are rejected according to IAB/ABC user-agent filtering rules. Kameleoon uses a single-pass method, meaning no action is required for requests from standard web browser libraries (like XHR). However, set a customUser-Agentvalue to override the library default in other cases.
curl -X POST -L 'https://eu-data.kameleoon.io/map/maps?siteCode=f17c21u1ag' \
-H 'Content-Type: application/json' \
-H 'User-Agent: MyCustomUserAgent/1.0' \
-d '{
	"myUserID1": {
        "audiencesNames": {
            "premium": true
        }
    },
    "myUserID2": {
        "audiencesNames": {
            "premium": false
        }
    },
    ...
}'
A processed request returns no content. To verify success, send a request to this endpoint using the following URL: https://eu-data.kameleoon.io/map/map?siteCode=f17c21u1ag&key=myUserID1
Fetch data using retrieveDataFromRemoteSource (Activation API)
With data stored on Kameleoon servers, use custom data to access information for individuals visiting the site. Custom data serves as a targeting condition within experiment segments.
First, create and configure custom data in Kameleoon.
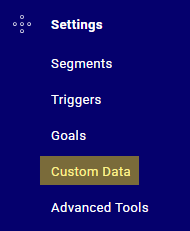
From the left-hand menu of the Kameleoon dashboard, click Custom data under Configure:
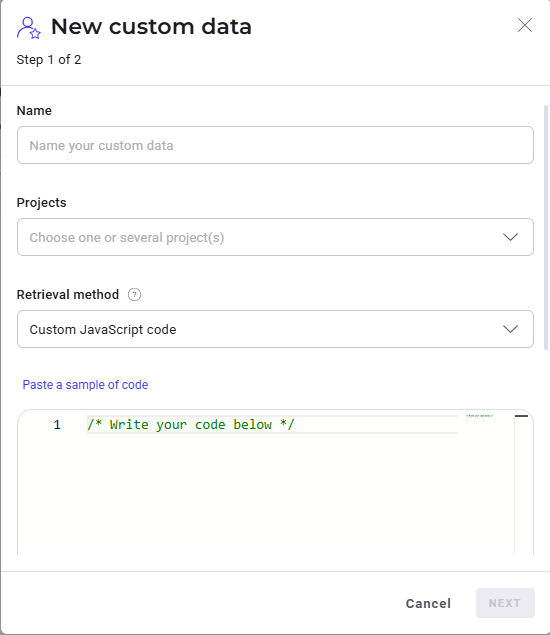
You will be redirected to the custom data dashboard. Click New custom data in the top-right corner.

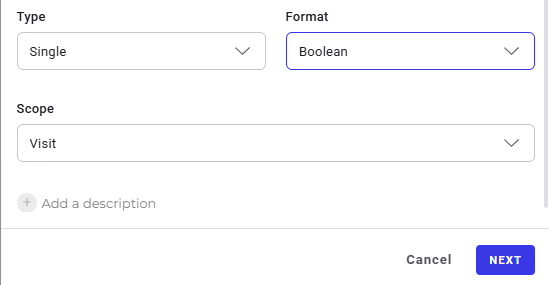
You will be taken to the Edit the custom data window.
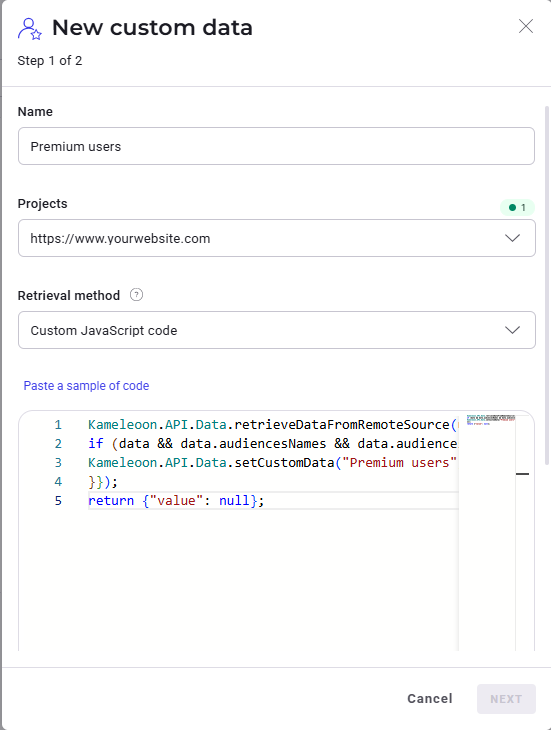
Example: Establish custom data named "Premium users" for users with a "premium" status of true. This information was saved in the earlier step.
"audiencesNames": {
  "premium": true
}
To identify users with a premium status of true, adjust the retrieval method to Custom JavaScript and insert the following code for the retrieveDataFromRemoteSource method under Paste a sample code:
Kameleoon.API.Data.retrieveDataFromRemoteSource(user_id, function (data) {

if (data && data.audiencesNames && data.audiencesNames.premium !== undefined) {
Kameleoon.API.Data.setCustomData("Premium users", data.audiencesNames.premium);
}});
return {"value": null};
This method retrieves the value stored for a specific user. In the sample code, the variable user_id contains the unique ID of the user.
Projects utilizing Kameleoon Feature Experimentation can use the SDK method getRemoteData() within the feature flag code to retrieve data.
Once you have populated all the information in the custom data creation window, click Next.
The next window will present you with additional configuration options that are optional. Click Create:
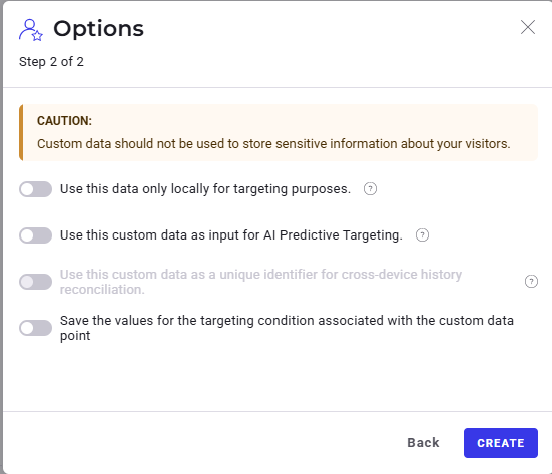
You will be redirected to your custom data dashboard where you will find the Premium users custom data.

Once the custom data "Premium users" is established, it can be used for targeting in experiments.
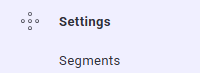
To do so, click Segments under Configure on the left side of the dashboard.
For instance, if you want to work with a New segment, click Edit.

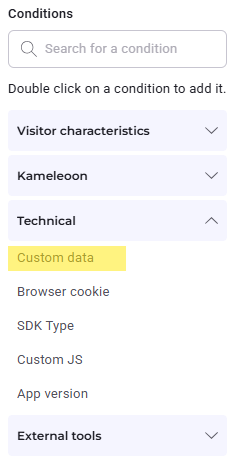
Then, on the left side of the Segment configuration window, under Conditions > Technical, select the Premium users custom data you created previously.
Then, under Definitions, configure the custom data to include visits with the Premium users custom data set to true.
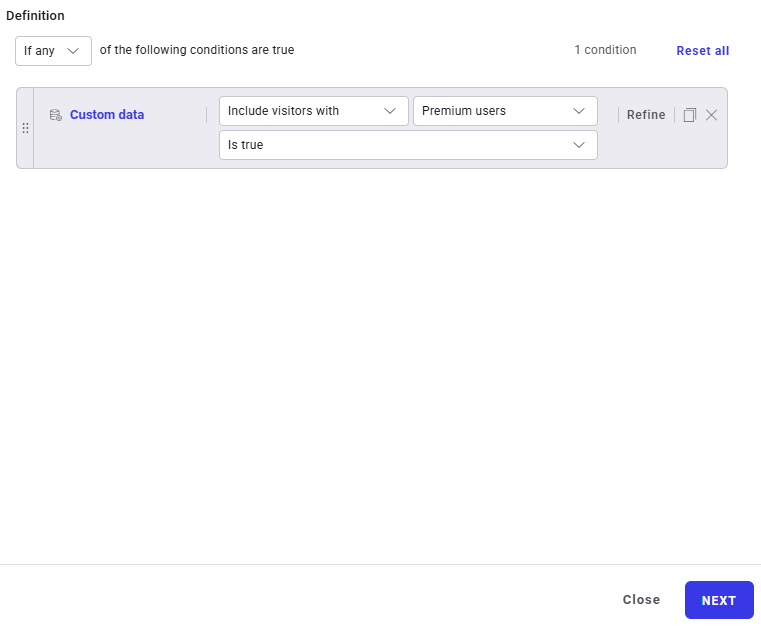
Then click Next > Edit segment.
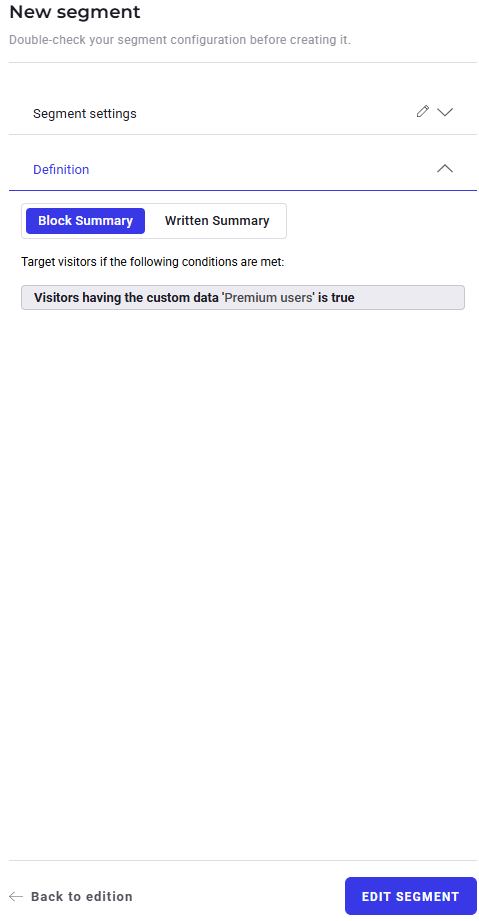
You have now successfully configured the segment to include visits with the Premium users custom data.
To use New segment in an experiment, return to your experiments dashboard.
Click Edit next to the experiment you wish to associate New segment with.

Once you are redirected to the window below, select Targeting in the upper-left corner.
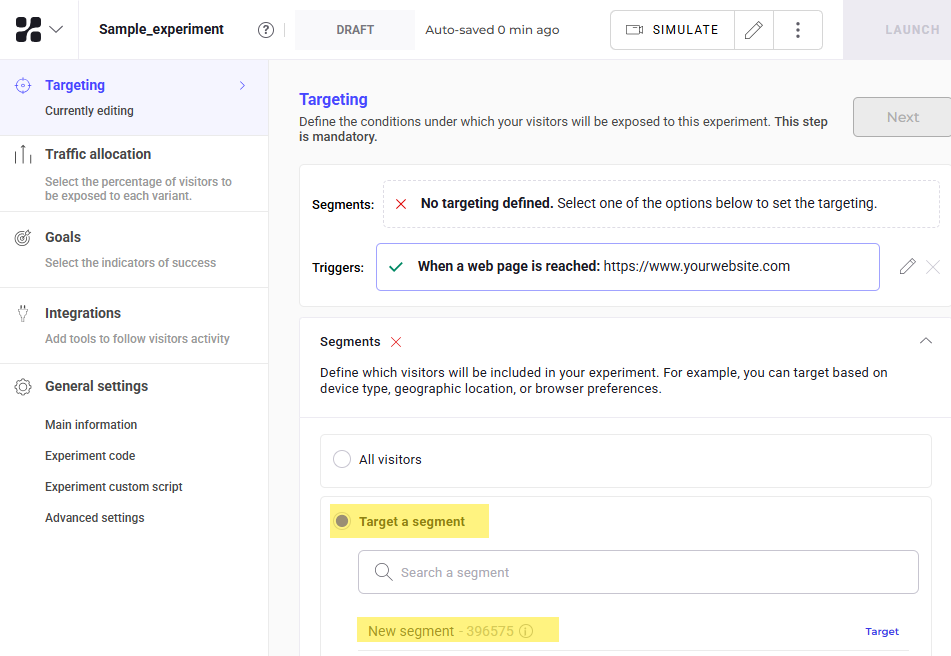
Under Targeting, choose Target a segment, then select New segment.
You will see the following on your screen:

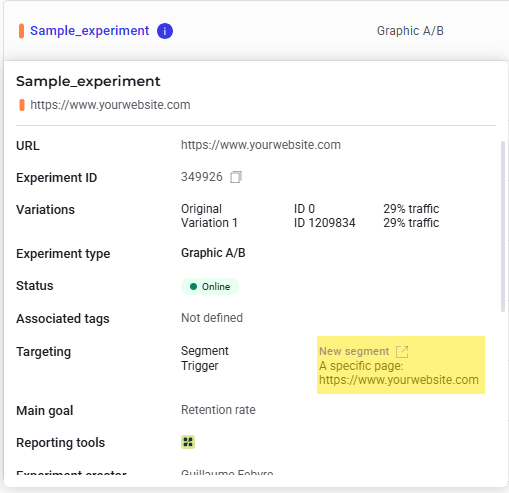
Then, in the top-right corner, click Launch.

A summary of the experiment draft will be displayed.
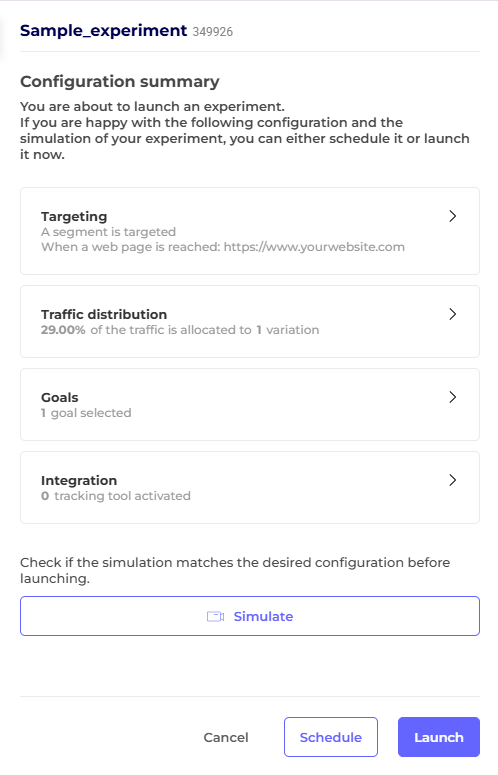
If you are satisfied with the existing configuration, click Launch.
Return to your dashboard and click the experiment you associated the segment with. You will see that New segment has been successfully added to the experiment: